Many control applications expect IP addresses to remain static (unchanged) on the network. While a permanent IP address can also be obtained by setting a DHCP reservation in the router, it is also possible to set a static IP address directly on the unit.
To set a static IP address on an iTach unit follow these steps:
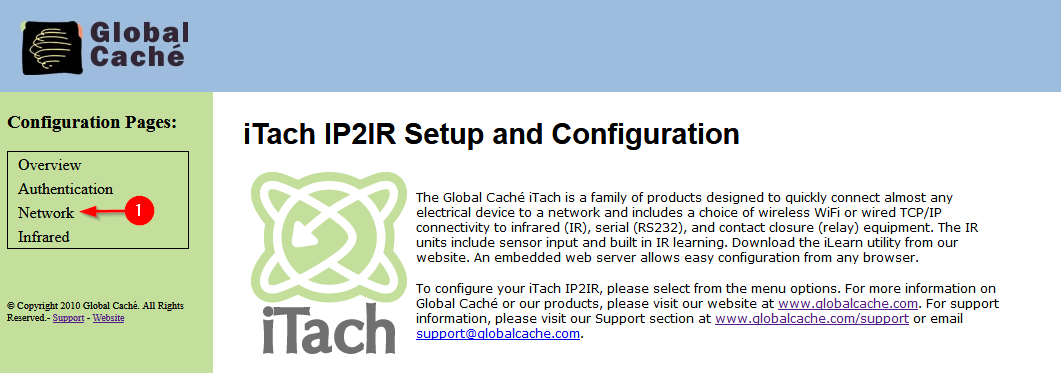
Enter the unit's current IP address in your browser (this can be determined using iHelp)
- Select "Network" from the left-hand side of the webpage.
- Uncheck "Enable DHCP".
- Enter the desired IP address.*
- Enter the gateway and subnet mask for the network.**
- Select "Save".
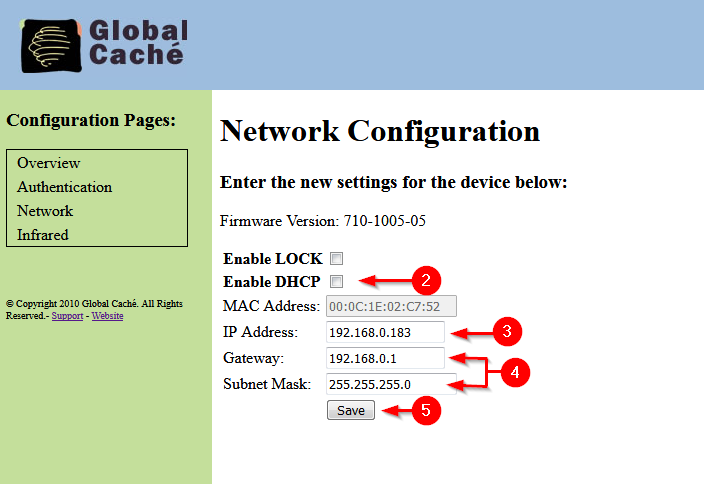
*Note: To avoid an IP address conflict we suggest setting a static IP address outside of the DHCP range. The DHCP range can be found on you router's setting page.
**Note: The gateway is typically the IP address of your router, and the subnet mask is typically 255.255.255.0 on residential networks.
0 Comments